There are many advantages to adding a home security system to enhance the overall smart home capabilities of your own home. And there are options that are easy to install yourself. A new Nest Cam security camera can be installed inside or outside of your home, depending on the camera model. The Nest Cam Outdoor and IQ Outdoor cameras are designed for outdoor installation but also can be used indoors. The Nest Cam Indoor and IQ Indoor cameras must be installed indoors. Whatever camera model you choose, the basic process involves three main steps:
AdvertisementAll Nest Cam cameras use a power cord that must plug into a nearby electrical outlet, and you can use an extension cord, if necessary. The camera streams video via Wi-Fi, so it's important to test the video quality at your chosen camera location before installing the camera. If you have any questions along the way, the Nest app includes an installation guide for each camera model.
Both indoor camera models include stands so they can be set on any horizontal surface. They can also be mounted to a wall or ceiling, using an included mounting plate. Additionally, the IQ Indoor model can be mounted to any compatible tripod, while the Indoor model can be stuck to any metal surface, using its strong, built-in magnet.
Advertisement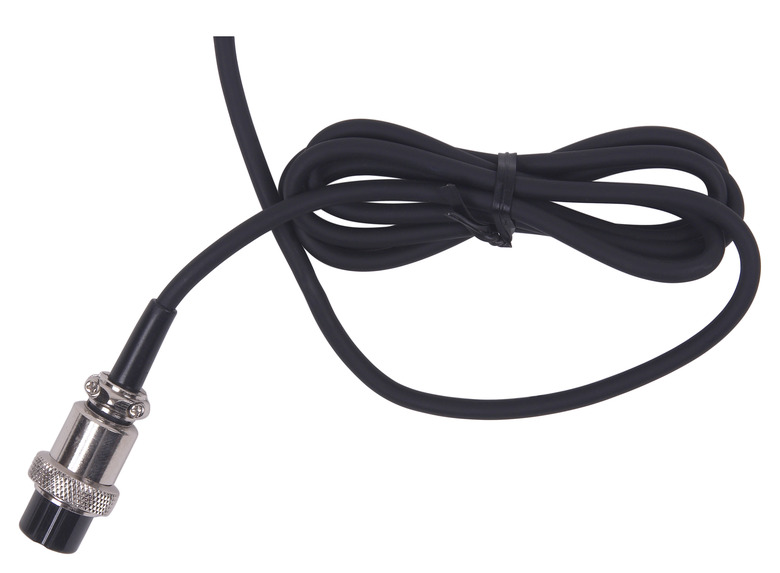
 Nest learning thermostat." />
You must have the Nest app installed on your smartphone to set up the Nest camera. Be sure to use the same Wi-Fi network for both the camera and the phone.
Plug in your camera, then place or hold it in the desired installation location to make sure the video works. Use the Nest app to test the video signal. If the video comes through clearly, you can proceed with the installation. If there is no video, experiment with different camera locations until the video is satisfactory. You may need to move the camera closer to your Wi-Fi device, but it might not take much.
AdvertisementIf you're placing the camera on a horizontal surface (using the stand) or are mounting a Nest Indoor Cam to a metal surface (using the magnet), the installation is done, and you're ready to start using the camera.
To mount the camera to a wall or ceiling, hold the mounting plate against the surface in the desired location and drive the three provided screws through the slots in the plate, using a drill-driver. The screws are self-tapping and shouldn't need pilot holes or wall anchors. Tighten the screws until they are just snug, being careful not to over-tighten and strip the screws.
If the surface is brick, concrete or block, drill a pilot hole with a masonry bit, and install a masonry anchor for each screw, then mount the plate with the provided screws.
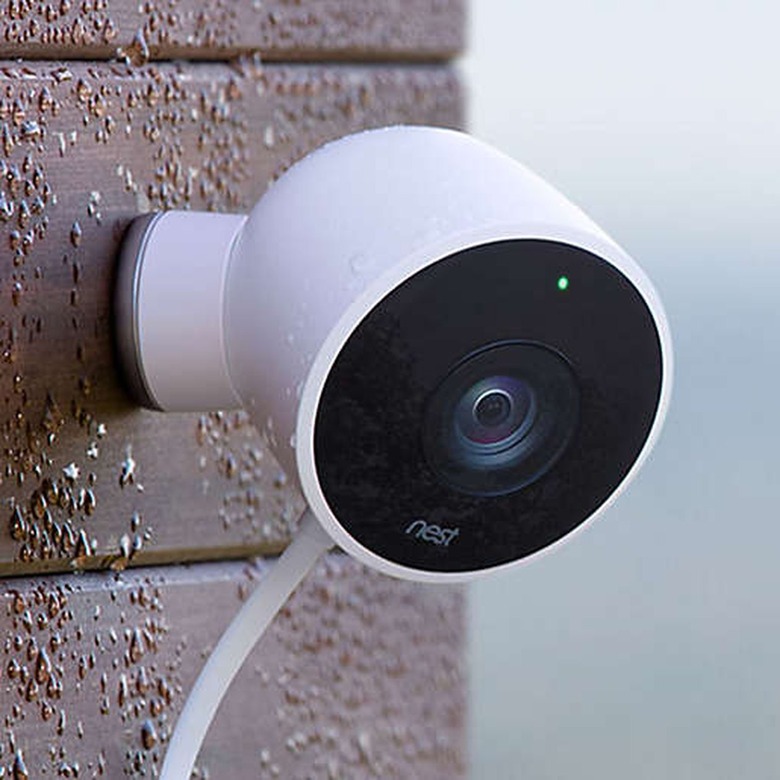
AdvertisementThe basic installation of the Nest Cam Outdoor and IQ Outdoor cameras is similar to that used indoors. However, the Outdoor model can plug into an outdoor or indoor electrical outlet, while the IQ model must plug into an indoor outlet. Also, the power cord on the Outdoor model includes a power adapter that must be mounted to a wall. The IQ Outdoor model's cord does not have such an adapter.
AdvertisementYou must have the Nest app installed on your smartphone to set up the Nest camera. Be sure to use the same Wi-Fi network for both the camera and the phone.
Test the video streaming at the desired outdoor location before drilling any holes or mounting the camera permanently.
AdvertisementNest outdoor cameras are weatherproof and can be installed in exposed areas, but to prevent rain, snow or direct sun from affecting a camera's view, it's best to locate it under an eave overhang or porch roof, whenever possible. If you want to see the faces of visitors at the door (and to speak to those visitors), place the camera 7 to 10 feet above the ground, above or just to the side of the door.
The power cord for a Nest Cam Outdoor model can stay entirely outdoors if the cord is long enough to reach an outdoor outlet. If you want to run the cord indoors, or if you have an IQ Outdoor model, you can drill a hole in the exterior wall to route the cable through, or use an existing opening, such as an attic air vent. With an IQ Outdoor model, you have the option of locating the hole behind the camera base so the cord and hole are hidden when the camera is installed.
AdvertisementConfirm the best route for the power cable, including the access hole location for the power cord, as applicable. Drill a 1/2-inch hole through the exterior wall and interior wall surface, using a drill-driver and a 1/2-inch bit. If the house wall is masonry, use a masonry bit.
Make sure there is no electrical wiring or plumbing inside the wall before drilling the access hole.
The Nest Cam Outdoor model has a magnetic base that can simply stick to an outdoor metal surface, or you can mount the camera to a wood or masonry wall with a different mounting plate. The Outdoor model also includes a separate mounting plate for the power adapter. The IQ Outdoor camera must be mounted with a plate and does not have an adapter.
To mount an Outdoor or Outdoor IQ camera base to a wood or masonry wall:
Once the installation is complete, you can paint the power cord, if desired, but do not paint the camera unit or the power adapter (Outdoor model only).
An Outdoor model camera cord plugged into an exterior outlet should be protected by a weatherproof "in use" outlet cover. The outlet should be a GFCI (ground-fault circuit-interrupter) type, which is required for all outdoor outlets.